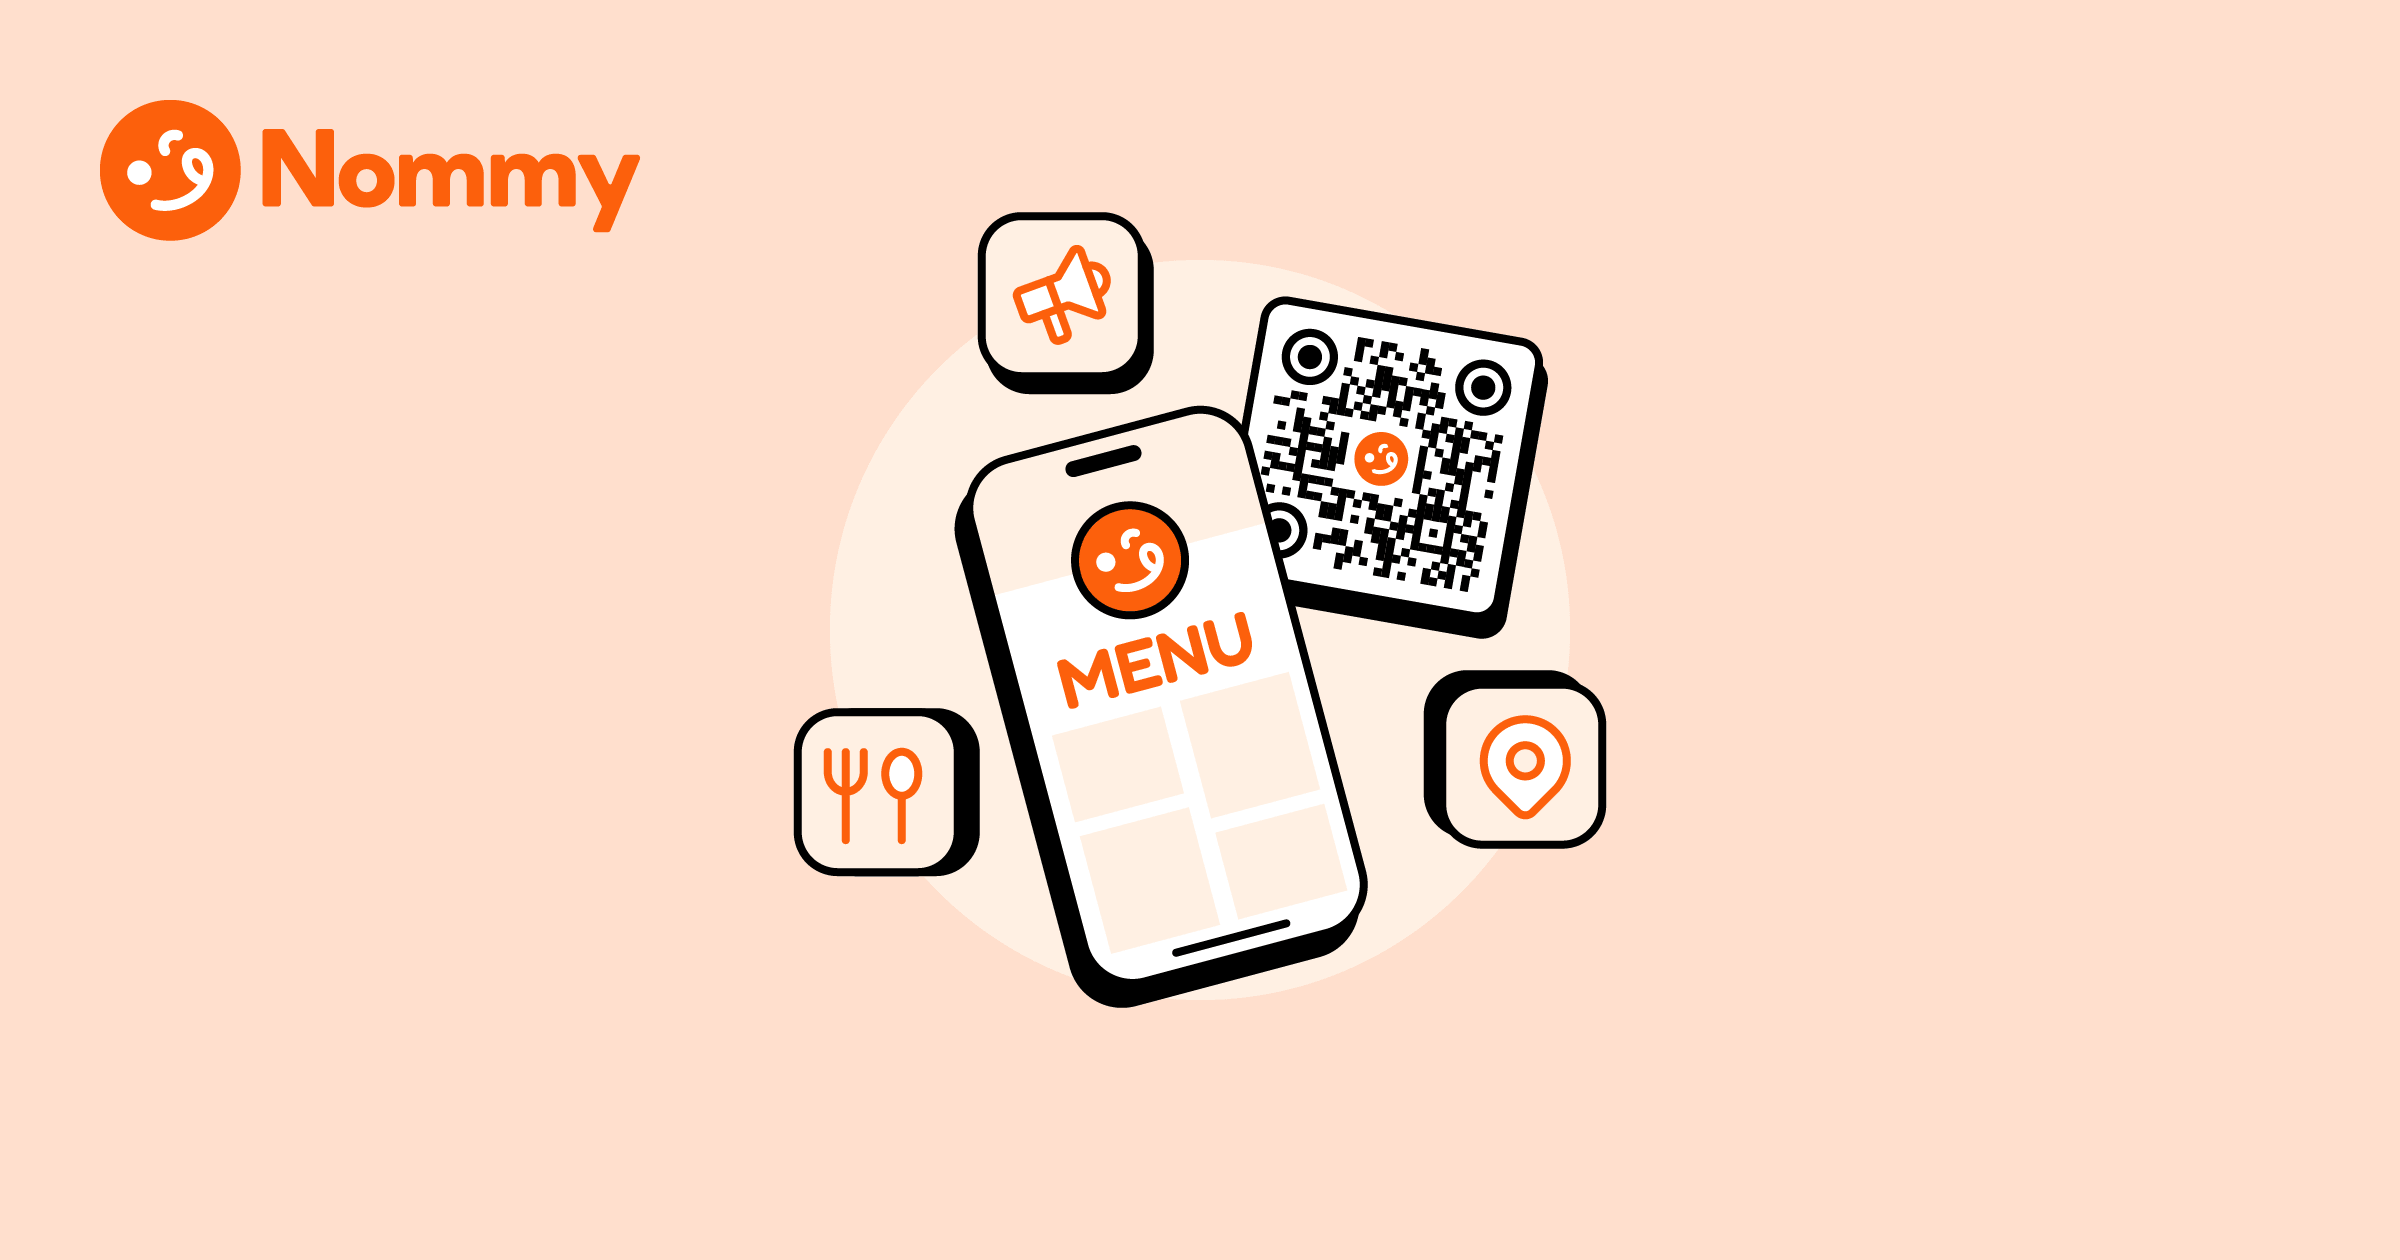
To create a QR menu, you structure your food items into a clean digital menu, connect a dynamic QR code to it, print the code where guests naturally look, and keep everything updated from one dashboard. The whole setup takes minutes.
But building it is only half the battle. While 75% of venues now use QR codes on tables, scan rates only climb when the code is dynamic and well-placed. Once it’s live, price or item changes push instantly to every table without reprinting a single code.
For the broader picture on how digital menus and QR codes work together, see our complete guide to digital and QR code menus.
What does a QR menu require before building?
Before you build a QR menu, gather three things: a clean list of your menu items, a smartphone to test with, and a dynamic QR code rather than a static one. Most operators already have the first two. The third matters more than people expect—a static QR code locks you to one file or link, so every price change means reprinting. A dynamic code points to a live web menu you can edit anytime. If you’re still weighing formats, our digital menu vs PDF menu breakdown explains why a static file costs you over time.
The 5 actionable steps to build and launch your QR menu
The core of how to create a QR menu is five practical steps—from structuring items to making the menu live. Each one solves a real restaurant problem, not just a software task.
- Structure your menu as data, not a document. Group items into clear categories (Food, Drink, Dessert), then add each dish with a name, price, short description, and a photo where you have one. A digital menu builder stores these as individual fields, so they render cleanly on any phone and stay editable from one dashboard.
- Add dietary tags and allergens as you go. Tag items with labels like Vegetarian, Halal, Gluten-Free, or Contains Nuts. This stops the table-side "does this have dairy?" questions and lets sensitive diners filter confidently.
- Generate a dynamic QR code. Use a QR code generator that links to your live menu URL—not a PDF. Download it in high-resolution PNG or SVG so it stays crisp on tables, packaging, and posters.
- Print on matte, high-contrast stock. Print dark codes on a white background using matte or laminated finish. Glossy stickers reflect overhead lights and break phone camera focus.
- Place codes where guests already look. Table tents, the centre of each table, counter stickers, and takeaway packaging all work. Put them at eye level and within arm’s reach, not angled away from the seat.
| Step | What it prevents |
|---|---|
| Structure items as data | broken mobile layouts and double-handling updates |
| Add dietary tags | repeated allergen questions and ordering errors |
| Use a dynamic QR code | reprinting every time a price changes |
| Print on matte stock | scan failures under mood lighting |
| Place codes within reach | guests giving up and asking staff |
Dynamic or static QR code—which works better?
When you set up your menu, always use a dynamic QR code. A static code encodes a fixed destination directly into the image, so if your menu link, prices, or items change, the printed code breaks and you reprint everything. A dynamic code points to a short redirect URL you control, so you can swap the destination in seconds without touching the physical print.
This is the single biggest reason restaurants switch from free static generators—the reprinting cost and the stale-link risk add up fast.
How to update prices without reprinting the QR code
This is the payoff of building a QR menu the right way. Once you know how to create a QR menu, the price-update step takes care of itself. Edit the item in your dashboard and save. Because your menu is live web content, the change appears instantly on every table, storefront, and shared link—the printed QR code never changes. Flip a sold-out dish to "unavailable" the moment it runs out, not at the end of service, and you avoid most table-side apologies.
The problem: Overhead spot lamps and candles produce glare on glossy laminated table cards, breaking mobile camera focus in dim dining rooms.
The real-world fix: Print table tags on heavy matte stock or slide them under an anti-glare acrylic protector. Keep codes in the lower corner of the card, where a phone naturally rests, so guests scan on the first try from any seat.
How to keep a QR menu accurate over time
Once you know how to create a QR menu, keeping it accurate is the easy part. Set up your menu once and the maintenance becomes a 10-second habit. Treat the dashboard as your single source of truth. Make one person responsible for flipping sold-out items, updating seasonal prices, and adding daily specials before service starts. Because one edit syncs everywhere, accuracy stops being a printing problem and becomes a quick pre-service check.
Build your QR menu in minutes with Nommy—dynamic codes, live updates, and unlimited scans on the free plan. No credit card required.
That’s how to create a QR menu that stays structured, scannable, and always accurate—make the menu live once and it stays current without reprinting.